You can describe false eyelashes in many ways, one of my favorite ways is to depict false eyelashes as resembling high heels without the torment as they immediately and easily spruce up a look.
False lashes run from individual clusters to the more conventional strips.
To add subtle volume and a bit of length or if you want to go for a natural or full on look then you can go for individual lashes as they make a perfect choice for that.
If you are a newbie to falsies I would suggest to buy a few sets you can play around with them and get used to applying them.
you will also have backups in case you destroy them while you attempt to master the routine.
Step One – Brush Your Lashes
Always have your lashes cleaned and brush through them before beginning.
Step Two – Ready Your Falsies
For this video, I utilized lashes by Eylure, they are super delicate and simple to apply.
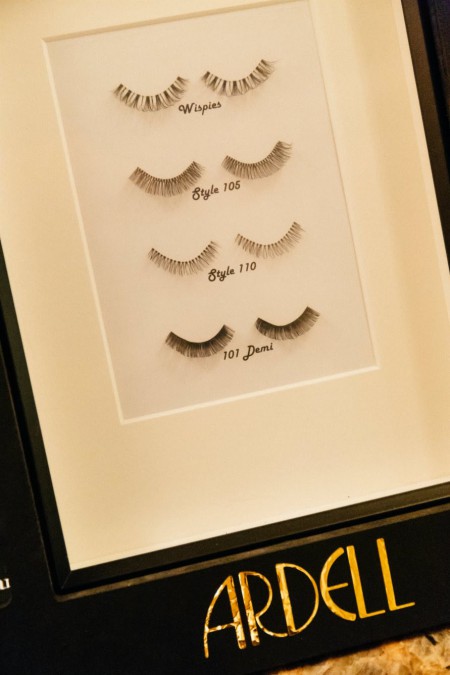
Ardell’s Demi Wispies are another pair that I really really love, they are ideal for gatherings and occasions and won’t make you look excessively exaggerated.
Take the lashes out of their from their packaging and put them alongside your eyes to watch that they are the right length.
They are too long if the band is jabbing the internal corner of your eye or in the event that it reaches out past your external lashes.
In case you have to trim the eyelashes, utilize eyelash scissors like bended ones from Morphe Brushes and trim from the external edge of the lashes.
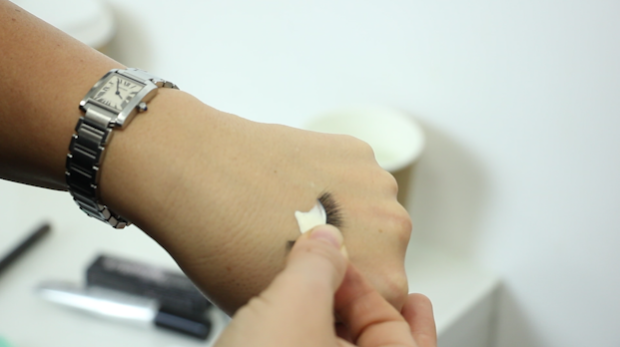
Step Three – Lash Glue Application
I will be honest here and maybe some lash companies will despise me for it but a lot of their glues are not all great.
I swear by Duo Adhesive – the lashes never lift or fall off.
put a little blob of adhesive on the highest point of your left hand if you are right handed (do the other way on if you are left-handed).
Give it a chance to sit for only a couple of minutes until it is somewhat tacky.
Once the adhesive is tacky, take your false lashes and run the band through the adhesive, make sure to get enough glue on the strip and both edges.
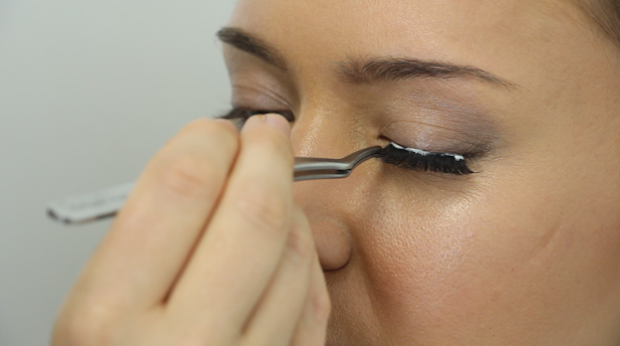
Step Four – Apply The Falsies
A few people discover it’s really simple to apply eyelashes with fingers yet I think that its much less demanding to utilize an eyelash instrument or a couple of tweezers, similar to these ones from Browtician, to get them appropriate on the lash line.
Make sure to get the lashes as close as you can to the lash line utilizing both of the devices and squeeze the falsie into your own lashes.
The eyelash adhesive is white at first – don’t stress, following a couple of minutes the paste will dry clear.
On the off chance that the adhesive stresses you, pop a little eyeliner or a dim eyeshadow on the lash line to cover it.
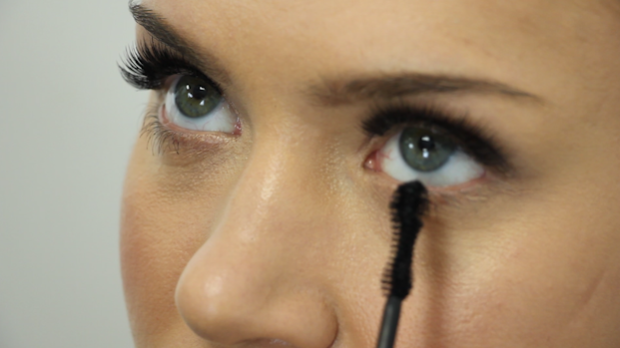
Step Five – Add A Bit Of Mascara
When you have to take off your lashes, delicately pull the lashes off from the external corner of the eye.
Pick off the extra adhesive from the lashes and set them back into the plate they came in so they keep their bended shape.
In the event that the eyelashes are looking really battered and the band is too straight, I would state it’s a great opportunity to trash them and get another combine.
In conclusion, never wash your lashes, wet them, or utilize cosmetics remover on them or in case that you are wanting to get more than one use out of them.