Many women are faced with a unique challenge when trying to apply false lashes for the first time. Just like parallel parking or riding a bike it is not a skill that comes easily but, it is worthy of mastering for so many reasons. For starters, False lashes are cheaper than eyelash extensions or lash lifts and can make the eyes look bigger and more dramatic without having to deal with the headache and messiness of mascara.
But many women are afraid of bringing glue that close to their eyes. To ease this fear Benefit Cosmetics makeup artist Deanna Tharp shares her expert advice on how to apply lashes safely for the perfect look. Whether you want to use individual false lashes to achieve a natural look or create a dramatic look with strip lashes, she’s going to reveal everything you need to know to apply false eyelashes like a pro.
Putting on Eyelash Strips
Step 1: Choose the correct eyelash set for your eye shape.
Most false lash stripes are made to fit all types of eyes, yet if you are a novice at this, knowing your shape can tremendously help you get the placement of your lash strip just right. There are six main eye shapes: downturned, hooded, round, monolid, almond and upturned. Check this Smashbox video out for a better understanding.
The wrong shaped false lashes, when applied without a slight trim or glued all across the lid, can work against certain eye shapes and make the eyes look droopy. Not only that, lashes which are too big towards the inner corner can end up looking really plastic, instead of giving eyes that fluttery look effect. That is why selecting the right false lashes for your eyes and strategic lash-placement and also trimming is crucial.
The Different Eye Shapes
Women with monolids (i.e., lids without a crease), should use a set of short lashes that are fuller at the outer corner to create a look of bigger and open eyes. You can also strip lashes and stack leftovers at the outer edge (like the trick seen here) to achieve this look.
If you have Upturned eyes ( eyes that are lifted higher at the outer corner), or downturned eyes (eyes that slope downward at the outer corner) fuller lashes at the outer corner will suit you better. View these types of sets as the “cat eyes” of false lashes.
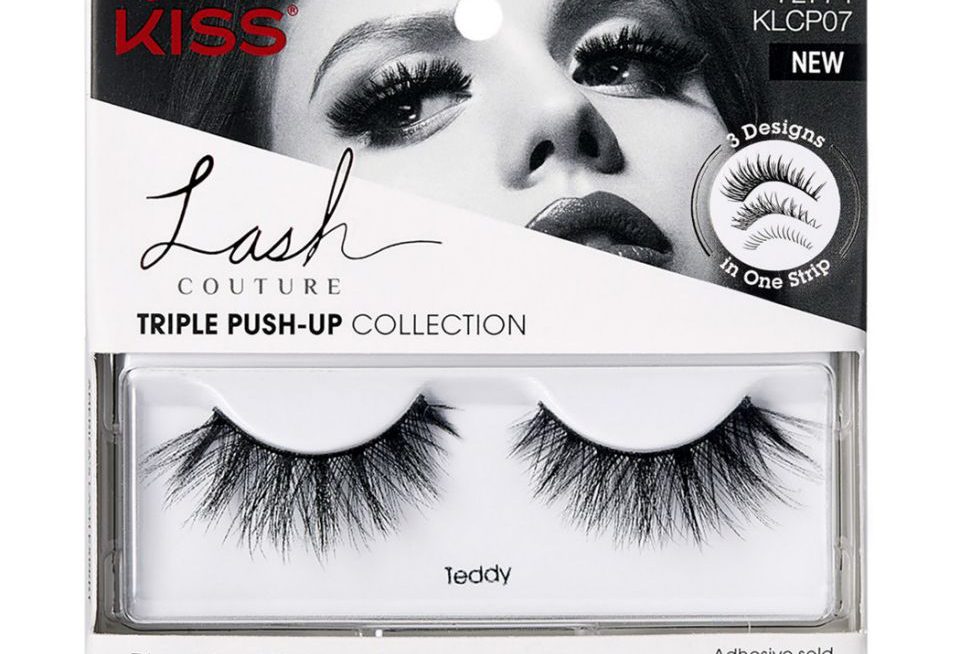
Kiss Lash Couture Triple Push-Up in Teddy
$6.95 (Buy 4 Pairs @ $6.50 each), Kiss
BUY NOW
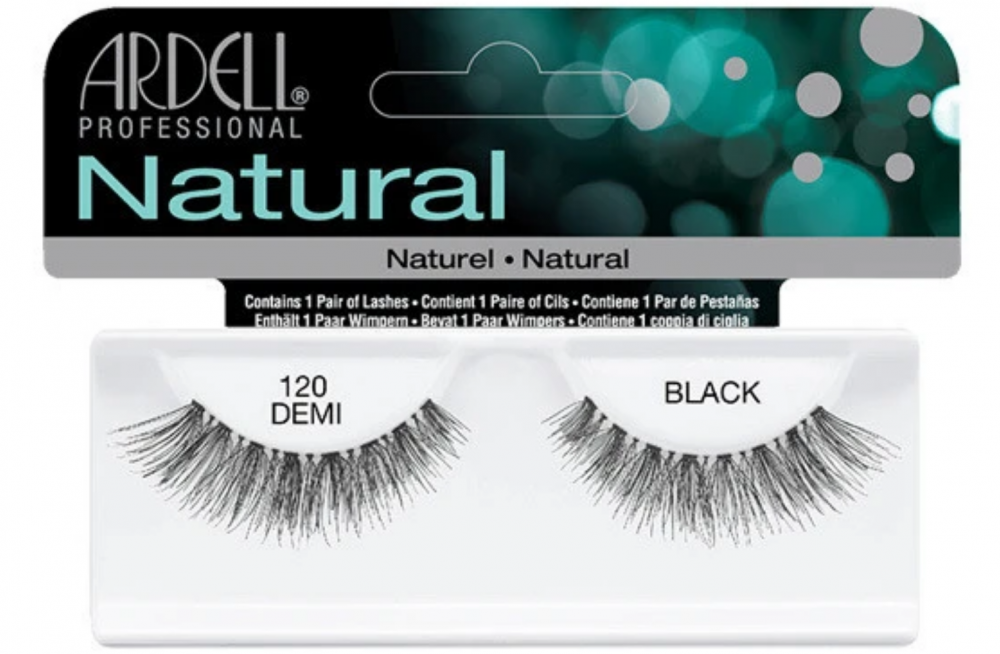
Ardell Natural Eyelashes #120 Demi
$3.50 (Buy 4 Pairs @ $3.15 each), Ardell
BUY NOW
If you have Hooded eyes (or eyes that don’t show a crease when open) long, fluttery lashes concentrated just above your pupil to open your eye at the center are best suited for you. This look can best be created with individuals or shorter lash strips.
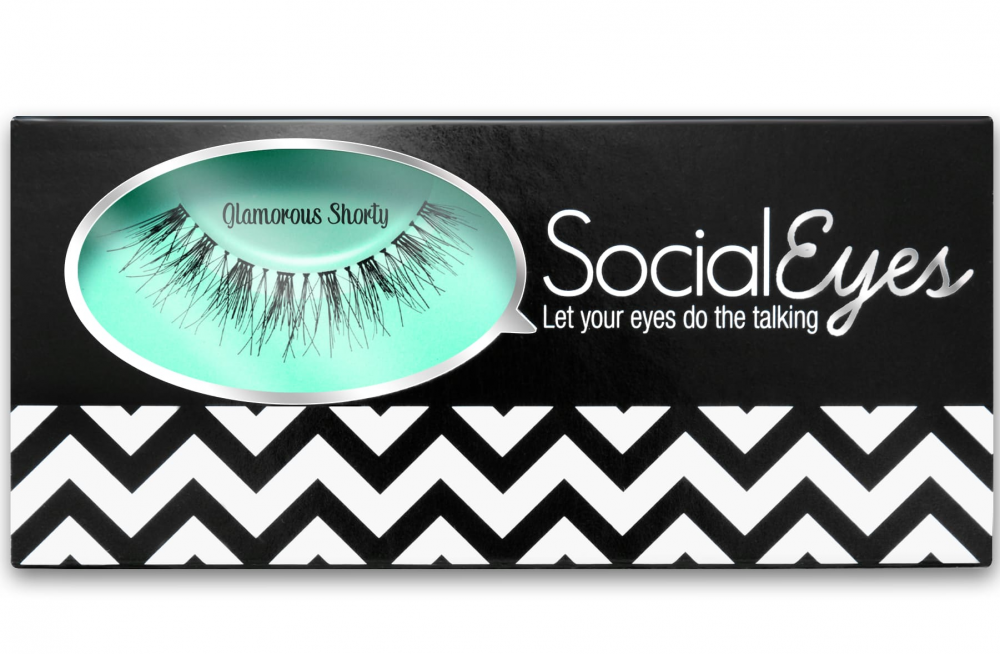
SocialEyes Luxury Lashes GLAMOROUS SHORTY
$7.95, SocialEyes
BUY NOW
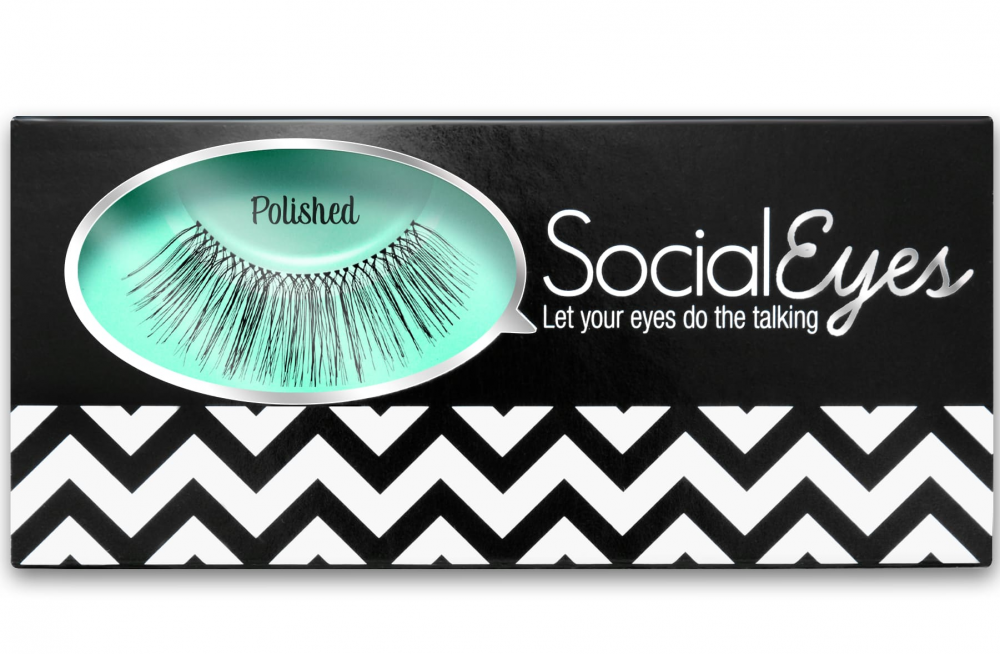
SocialEyes Luxury Lashes POLISHED
$5.95, SocialEyes
BUY NOW
If your eyes are round (i.e., the whites of your eyes are visible above or below your irises), curled lashes that lift and enhance the curve your eye shape will best suit you. Refrain from using lashes that are too dense or voluminous as these will make your eyes look smaller.
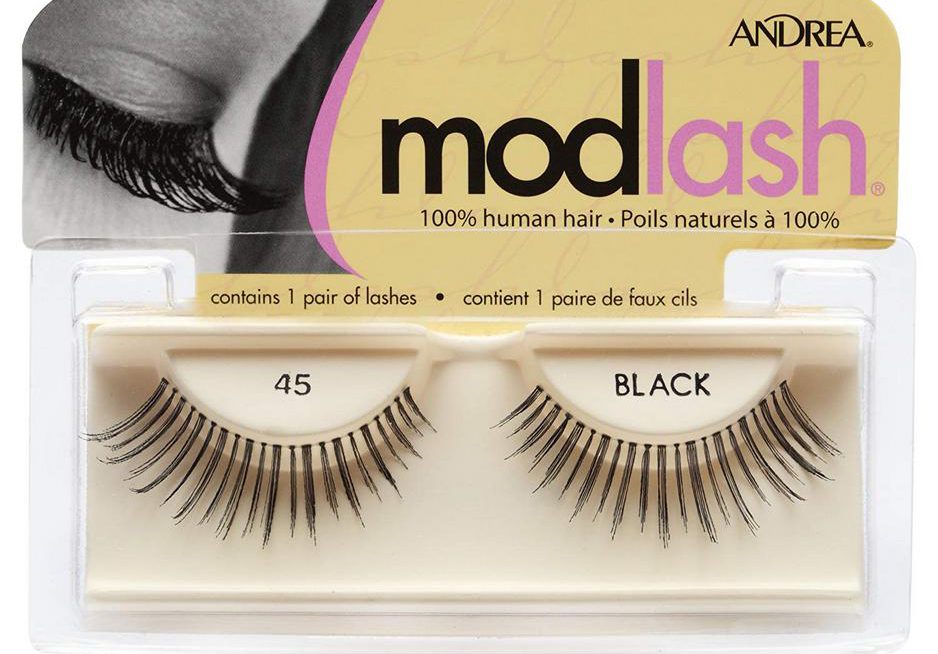
Andrea ModLash Strip Lash #45
$3.50 (Buy 4 Pairs @ $3.15 each), Andrea
BUY NOW
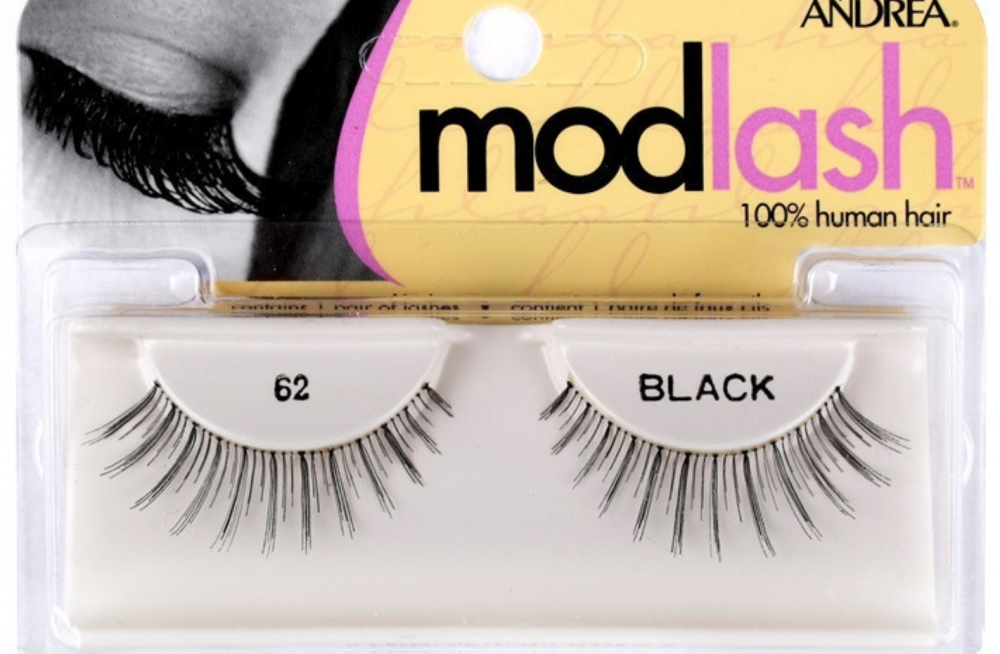
Andrea ModLash Strip Lash #62
$3.50 (Buy 4 Pairs @ $3.15 each), Andrea
BUY NOW
Women with almond eyes (i.e., eyes that don’t show whites of your eyes above or below your irises when looking straight ahead) are lucky as most styles fit this eye shape. Almond eyes are also easiest to place lash strips on.
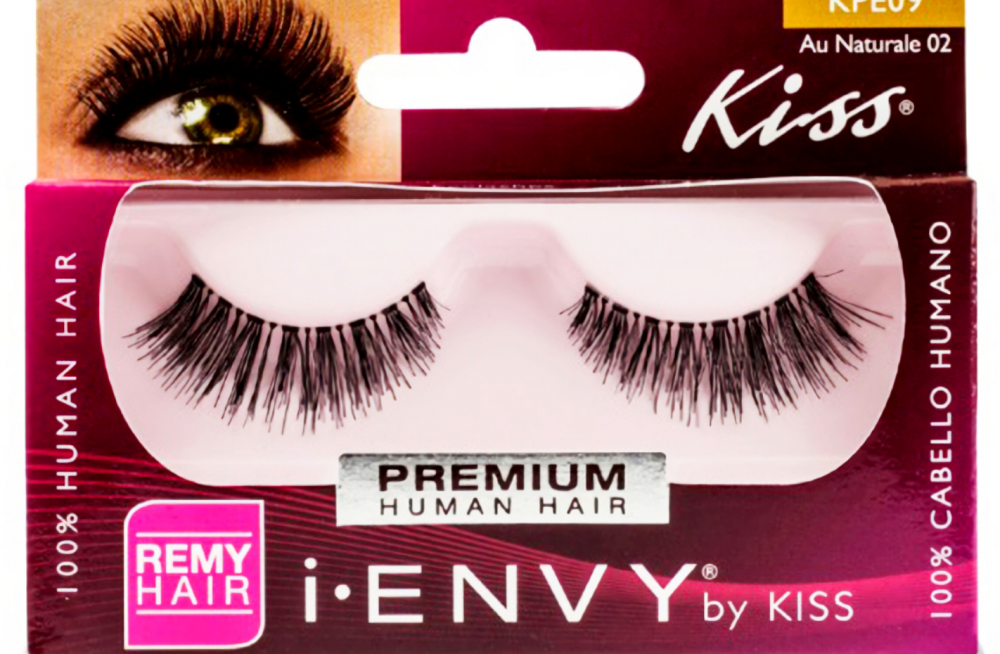
KISS i-ENVY Premium Au Naturale 02 Lashes
$2.95 (Buy 4 Pairs @ $2.85 each), Kiss
BUY NOW
KISS i-ENVY Premium Beyond Naturale 01 Lashes
$2.95 (Buy 4 Pairs @ $2.85 each), Kiss
BUY NOW
Step 2: Apply eyeliner.
Remember, before you apply your lashes you must first line your upper lash line with black eyeliner to hide the base of the false eyelashes.
Step 3: Remove the lashes from the box.
When removing the lashes from the package you must do so with utmost care as roughly pulling can damage the “hairs” which can result in bent lashes or sparse spots on the strip. The correct way is to loosen the glue by gently rolling the band down with your finger starting from the outer corner.
Step 4: Loosen the spine of the lash strip.
You’ll need to soften the lash strip to size the lashes and slightly curve them to fit your lash line to avoid them popping up at the inner and outer corners when gluing them. You can do this by wrapping the strip around a makeup brush, pen or your finger for a minute.
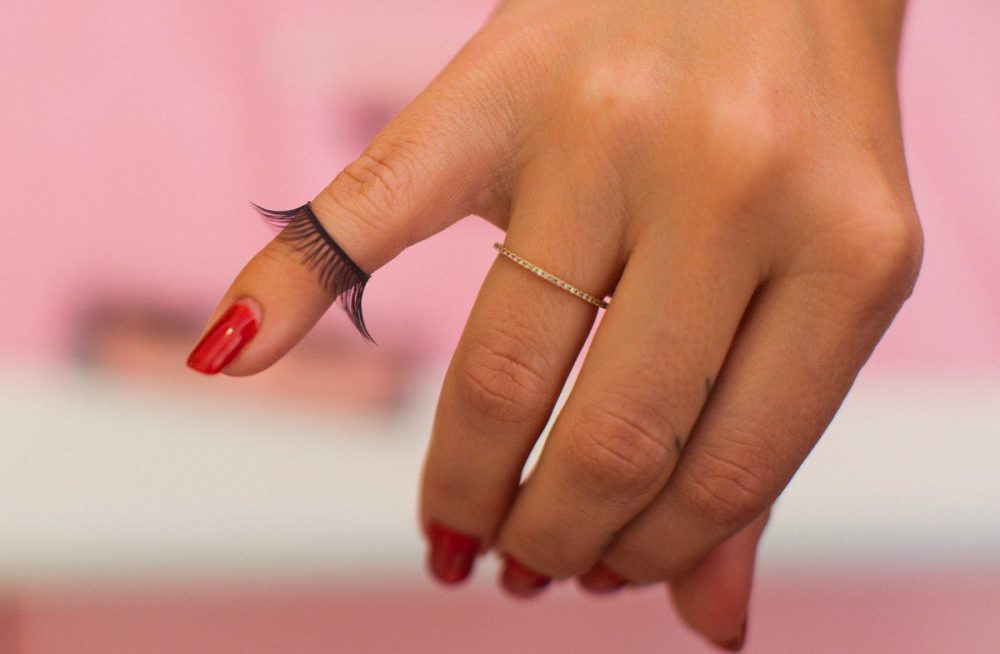
If the lash strip doesn’t stay wrapped around your finger, Tharp advises running your fingernails gently over it to increase the bend (she demonstrates it above). When doing this be as gentle as possible in order not to damage the individual lashes.
Step 5: Measure the lashes against your eye.
Measure the lashes by resting the lash strip along your lash line to see if they fit or need a trim. You can do this by using your fingers or lash tweezers. Make sure that the strip starts close to where your natural lashes begin and not close to the inner corner of your eye as this can irritate your eye and can cause the lash to not stay on. To be safe, trim the lash at least two to four lashes from the edge of your outer eye corner as this can prevent overhang – which can make the eyes look droopy.

Step 6: Trim all extra and unneeded length off your lashes.
Cut the spine with a pair of lash scissors from the outside to remove all extra length.
An even easier way to apply your lashes is to cut your lash strip into quarters once you’ve trimmed the edges off, as shown above on Instagram. This method is great because it secures each section tightly to your lash line thus preventing pop-ups from happening.
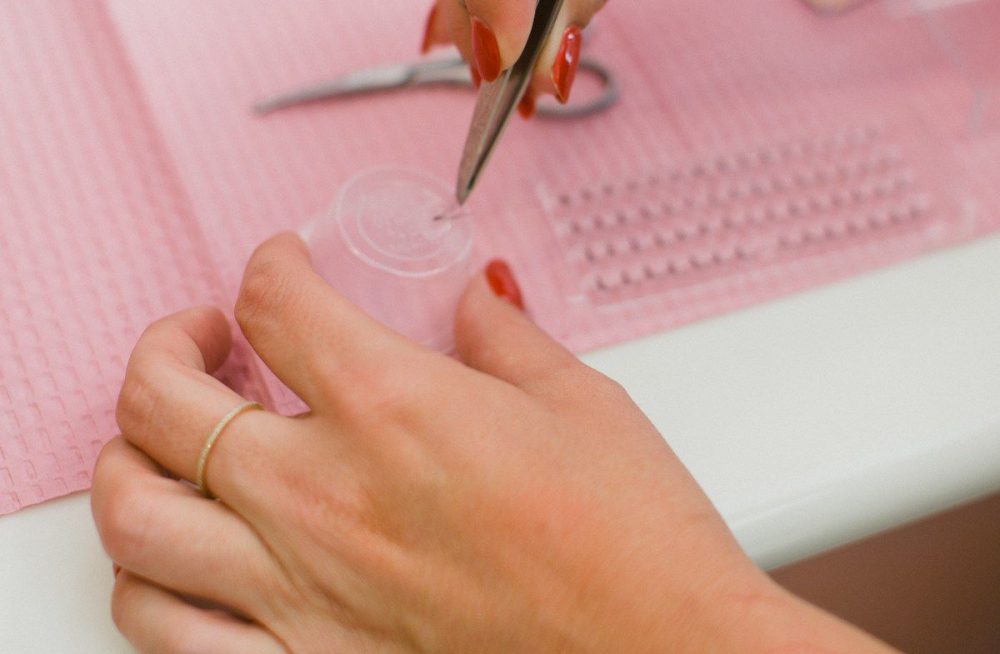
Step 7: Apply glue to the spine.
Novice lash users often go overboard with lash glue. Too much lash glue can take forever to dry. Tharp advises putting glue in an empty cup and using the edge of a bobby pin to place a small amount of glue on the lash spine and only apply the lashes when the glue becomes tacky for best result. Most novice false lash users get bored with the waiting time so they blow on the lashes to get the glue dry. But Tharp warns against this. “You don’t want the germs from your mouth to get anywhere near your eye,” warns Tharp.
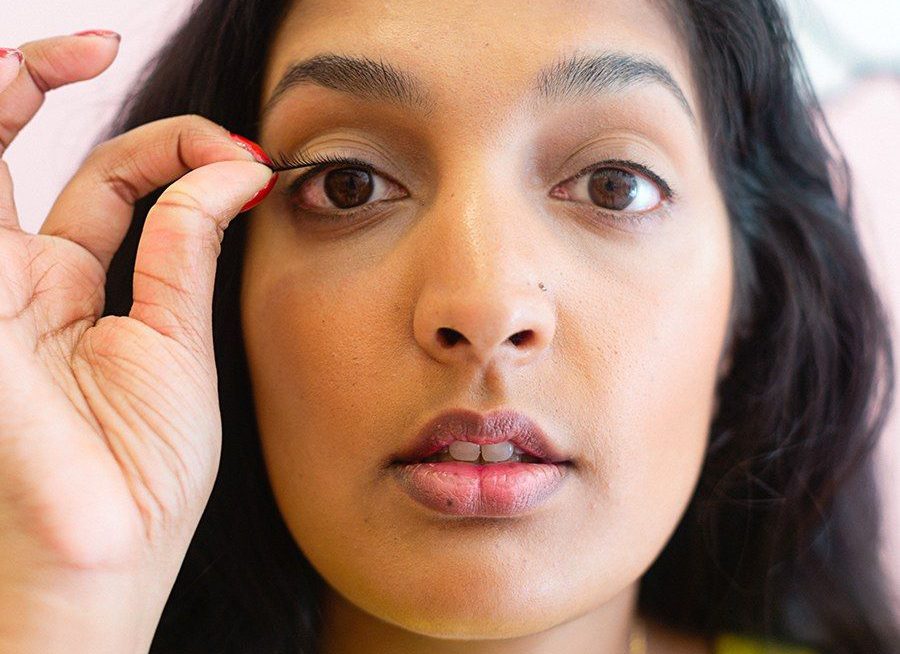
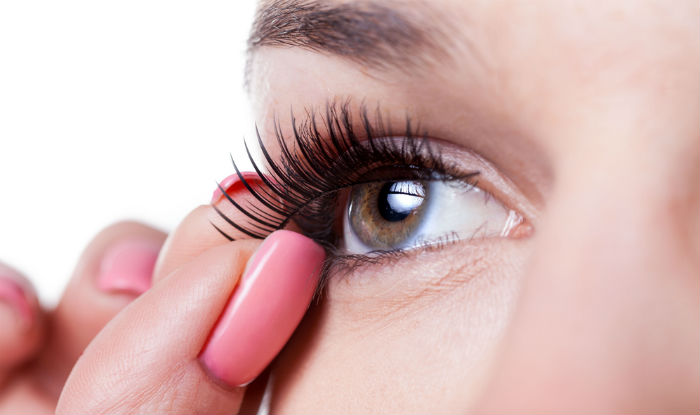
Step 8: Use tweezers to place the strip along your lash line.
We previously mentioned that the beginning of the lash strip must line up where the majority of your natural lashes start. Start by using tweezers to apply the strip in the center of your lash line then slowly move to the inner and outer corners along your lash line.
Once the false lashes are neatly glued to the edges, gently pinch your natural and false lashes together to remove possible gaps between the lashes and your lash line and create a natural blend.
The finished result:


The next step is to let your lashes dry for at least two minutes and they’ll be all set until you’re ready to take them off. You can give your lashes a slight lift by pushing them against the base of your lashes at the inner lash line.
How to Put on Individual Eyelashes
Strip lashes are much more difficult to apply than individual ones. This is because individual eyelashes are applied one after the other. The downside of individual eyelashes is that they only add slight fullness to your lashes and not the dramatic volume that most women seek.
Step 1: Remove the lashes from the packaging.
Gently pull lash clusters off with your fingers—not tweezers.
Removing the lashes from the package must be done gently with your fingers and not with tweezers. According to Tharp using a tool may be too much force and might bend the lashes. Once the lashes are removed from the package stick them to the back of your hand and continue to apply them with your tweezers.
Step 2: Apply lash glue.
Some packs of lashes come with lash glue inclduled, but the makeup artist favorite is Duo, which comes in clear or black tone. Use clear if you are doing a more natural eye makeup look, or black if you plan on doing a more dramatic cat-eye or smokey eye to make sure the glue isn’t visible in your final look.
To apply the lash glue use your tweezers to slightly dip the base of your lash cluster in the glue and wait for it to get tacky.
Step 3: Place a lash cluster on the outer edge of your eye.
Start by placing clusters at the edges of your lash line to give extra volume and use your tweezers to coax them into your lash line. Only move on to the next cluster when the lashes are in place and the glue is dry.
Step 4: Repeat with as many individual lashes needed.
Follow up by placing lash bundles in the middle and inner corners.
Continue the process by placing as many individual lashes in the middle and inner corners as needed. The great thing about clusters is that you can add as many or as few as you please.
Pro-Tip:
To choose the right false lashes for you, you’ll want to start by noticing some qualities about your own lashes. The best way to ensure your individual lashes look seamless natural is by matching them to your natural lash texture and length. If you have light, fine, straight, or short lashes you’ll want to stick with a short or medium length, and the single-layer clusters. If you have thick, long, wavy or curly eye lashes, the double-layer or triple individuals option may be more suitable.
Another identifier to pay attention to is how the lashes are bound at the base of each cluster. Those with knots will have a little clump at the base of the cluster to give more of a base for the lash glue to stick to. However, if you have fine or light lashes, these knots can show up in your final look, so for most, the “knot-free” option is best.
The final result:

Consider this look “your lashes but fuller.”
Read more…

Step-by-step Guide to How To Wear Falsies Eyelashes