Tired of spending hours in front of the mirror trying to apply fake eyelashes, only to end up with the lashes sticking out at strange angles, or– even worse– fall off completely after a few hours due to the tricky method to master applying the falsies on. We touched base with makeup artist, Gia Brascia to show us her ”tried-and-true” lash application and removal tips.
Unfortunately, strip lashes aren’t one-size-suits-all. Here’s how to find the ideal lash type for your eye shape and hacks for applying them naturally.
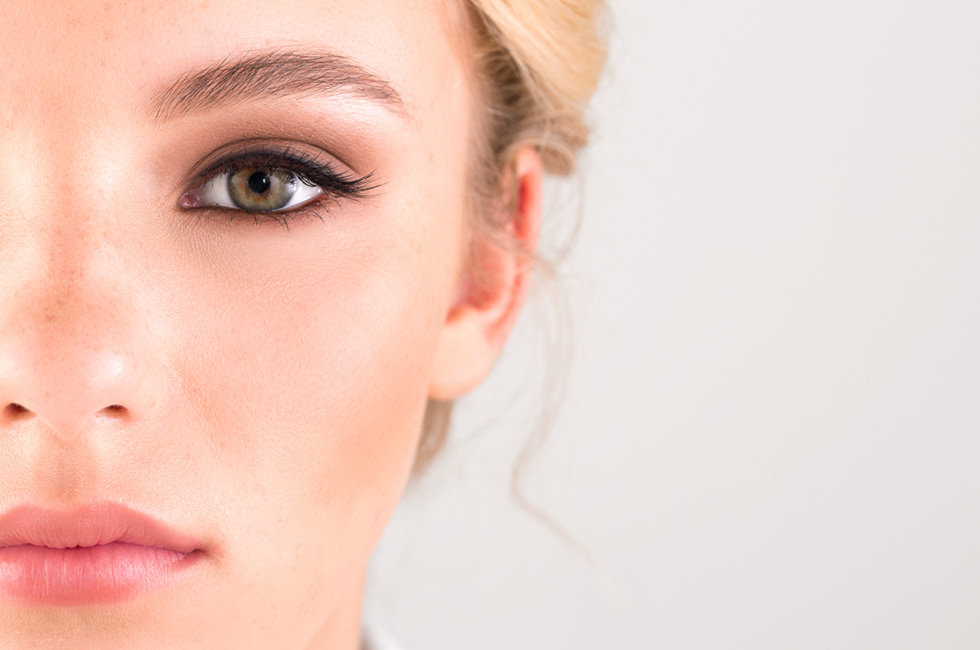
WHAT ‘S YOUR EYE SHAPE?
Almond eyes’ are considered as the eye shape to suit all strip lashes (The almond eye shape is when your irises disappear into your upper and lower eyelids while looking straight ahead). Not the shape of your eyes? Here are some other common shapes and structures, which – of course – come in many variations.
Masterclass in the False Lash
Deep-set eyes – When your eyes are set deeper into the head creating an illusion of a more prominent brow bone. Lashes that are longer in length at the center of the strip lash will be a good fit for this eye shape.
Downturned eyes – When the outer corners of the eyes appear to be drawing downwards. Shorter strip lashes that are longer in the outer corners will lift your eyes.
Hooded eyes – When the crease on your eyelid isn’t visible. Thin strip lashes in a shorter length fits this eye shape.
Prominent eyes – When your eyelids look projected in the eye socket area. Try balancing the top lashes with strip lashes on the bottom as well as the top which will give the illusion of pushing back your eyes.
0: Removing The Lashes From The Box: Hold them in the packet under your nose with the lashes facing outwards; this will identifies the left and right lashes since they’re not always marked. It does matter if you bend or break the lash from the inner corner.
1: Be sure to measure the length of the lash to make sure it fits your eye shape. If the strip needs to be cut to trimmed snip the outer edge completely with small nail scissors. This will avoid lashes poking your eyeball.
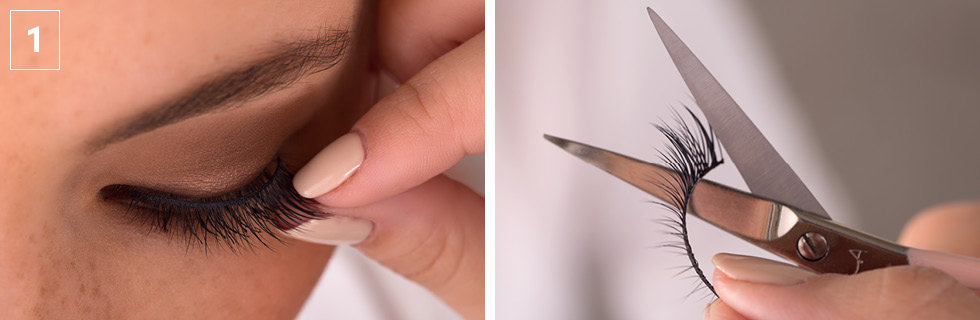
2: Bend both edges of the lash inward to create a “C” shape and hold for a couple of seconds. This is the best wayadd curve to ensure the lash band fits the eye shape and remains on without the corners lifting up. This alone will make the rest of the process effortless.
3: Apply a high-quality adhesive such as DUO Eyelash Adhesive for lasting results (Brascia suggests avoiding the adhesive included with the false eyelashes). Be generous at the inner and outer corners to ensure the lashes will stay on as you blink. For super long-lasting application do the ‘double adhesive’ technique by applying dots of glue along your lash line as well as on the falsies.

4: Wait ten seconds or so for the glue to become more tacky before applying the lash. This is the best way to keep the strip from slipping around while you’re trying to line it up properly.
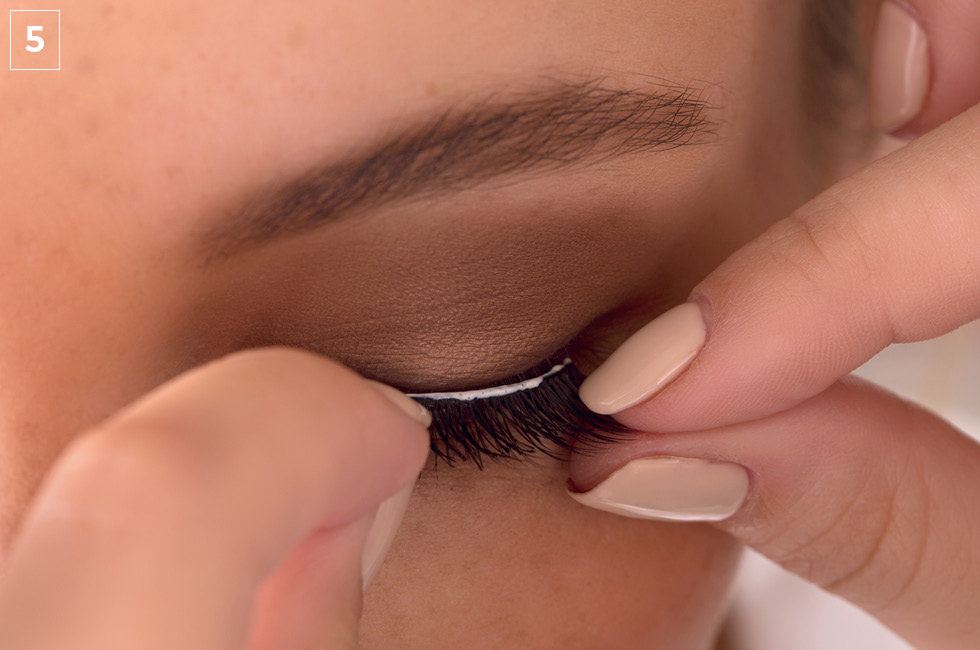
5: Your natural lash line should be where to aim your strip lashes – right on top of your real lashes, but not touching the eyelid at all. The glue dries clear, so don’t worry if a little gets on your skin. Remembering to place your falsies where your natural bulk of eyelashes begin, look down and press the strip lash against your lash line in the centre, the outer edge and inner corner.
6: Once both lashes have been applied, you may now add mascara; this will help integrate the natural lashes with the false ones.
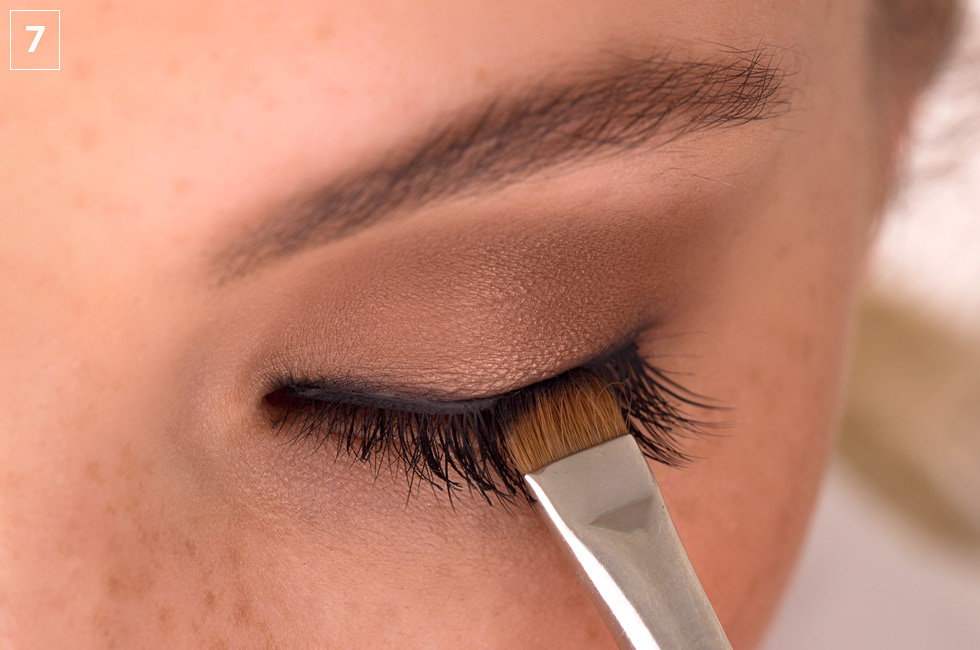
7: Don’t worry if you see a gap showing on the eyelid between your real lashes and falsies, just fill in the gap using a matte black eye shadow as a liner to hide it (try Anastasia Beverly Hills Eye Shadow in Noir ultra-matte deep carbon black).
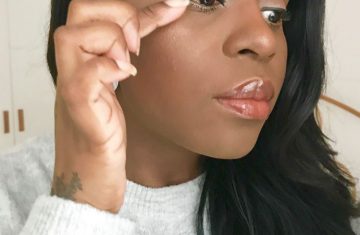
8: If you want to create more uplift with your lashes, finish by gently pushing against the lashes at the edge of the inner lash line to create an uplift effect.
Removal Tips: Always remove false lashes first before taking off the rest of your eye makeup. Pre-soften the glue with a cotton swab that’s been soaked in an oily makeup remover. Dab the swab along the lash line to loosen the adhesive and break down its stickiness. With your eye open, take hold of the lash at tip of the outer corner. Close your eyes and very slowly peel the strip away from your real lash, working from outer to inner corner– toward the nose.